Payments
Virtual Terminal
In a nutshell
Accept in-person payments in Kenya with Virtual Terminal, with no dedicated hardware.
Virtual Terminal transforms a mobile phone into a point-of-sale system, enabling businesses to accept payments without dedicated POS hardware. By connecting a WhatsApp-enabled phone to your Virtual Terminals, you can instantly set up a payment point that supports M-Pesa, Airtel Money, cards, Apple Pay and Pesalink payments.
Copy linkCreate the Virtual Terminal
- Create a Virtual Terminal with a
nameand up to five WhatsApp-enabled phone numbers asdestinations. Include the country code in each phone number, for example+254710000000. - Keep the
code(for exampleVT_L837PT5K) and the payment details returned in the response. You'll need the code to match incoming payments and the payment details to share with customers.
POSTapi.paystack.co/virtual_terminal
curl https://api.paystack.co/virtual_terminal \
  -H "Authorization: Bearer YOUR_SECRET_KEY" \
  -H "Content-Type: application/json" \
  -d '{
    "name": "Sales Point #1",
    "destinations": [
      {
        "target": "+254710000000"
      }
    ]
  }' \
  -X POST
const response = await fetch('https://api.paystack.co/virtual_terminal', {
  method: 'POST',
  headers: {
    Authorization: 'Bearer YOUR_SECRET_KEY',
    'Content-Type': 'application/json'
  },
  body: JSON.stringify({
    name: 'Sales Point #1',
    destinations: [
      {
        target: '+254710000000'
      }
    ]
  })
})

const terminal = await response.json()
console.log(terminal)
Paystack creates a dedicated Paybill account for the terminal and returns it in paymentMethods:
{
  "status": true,
  "message": "Virtual Terminal created",
  "data": {
    "id": 26677,
    "name": "Sales Point #1",
    "code": "VT_L837PT5K",
    "paymentMethods": [
      {
        "paystack_paybill_id": 25120781,
        "type": "paystack_paybill",
        "account_number": "93223",
        "account_name": "PAYSTACK - Paystack Demo",
        "bank": "M-Pesa Kenya"
      }
    ],
    "active": true,
    "destinations": [
      {
        "target": "254710000000",
        "type": "whatsapp",
        "name": null
      }
    ],
    "currency": "KES"
  }
}
Poster Customisation
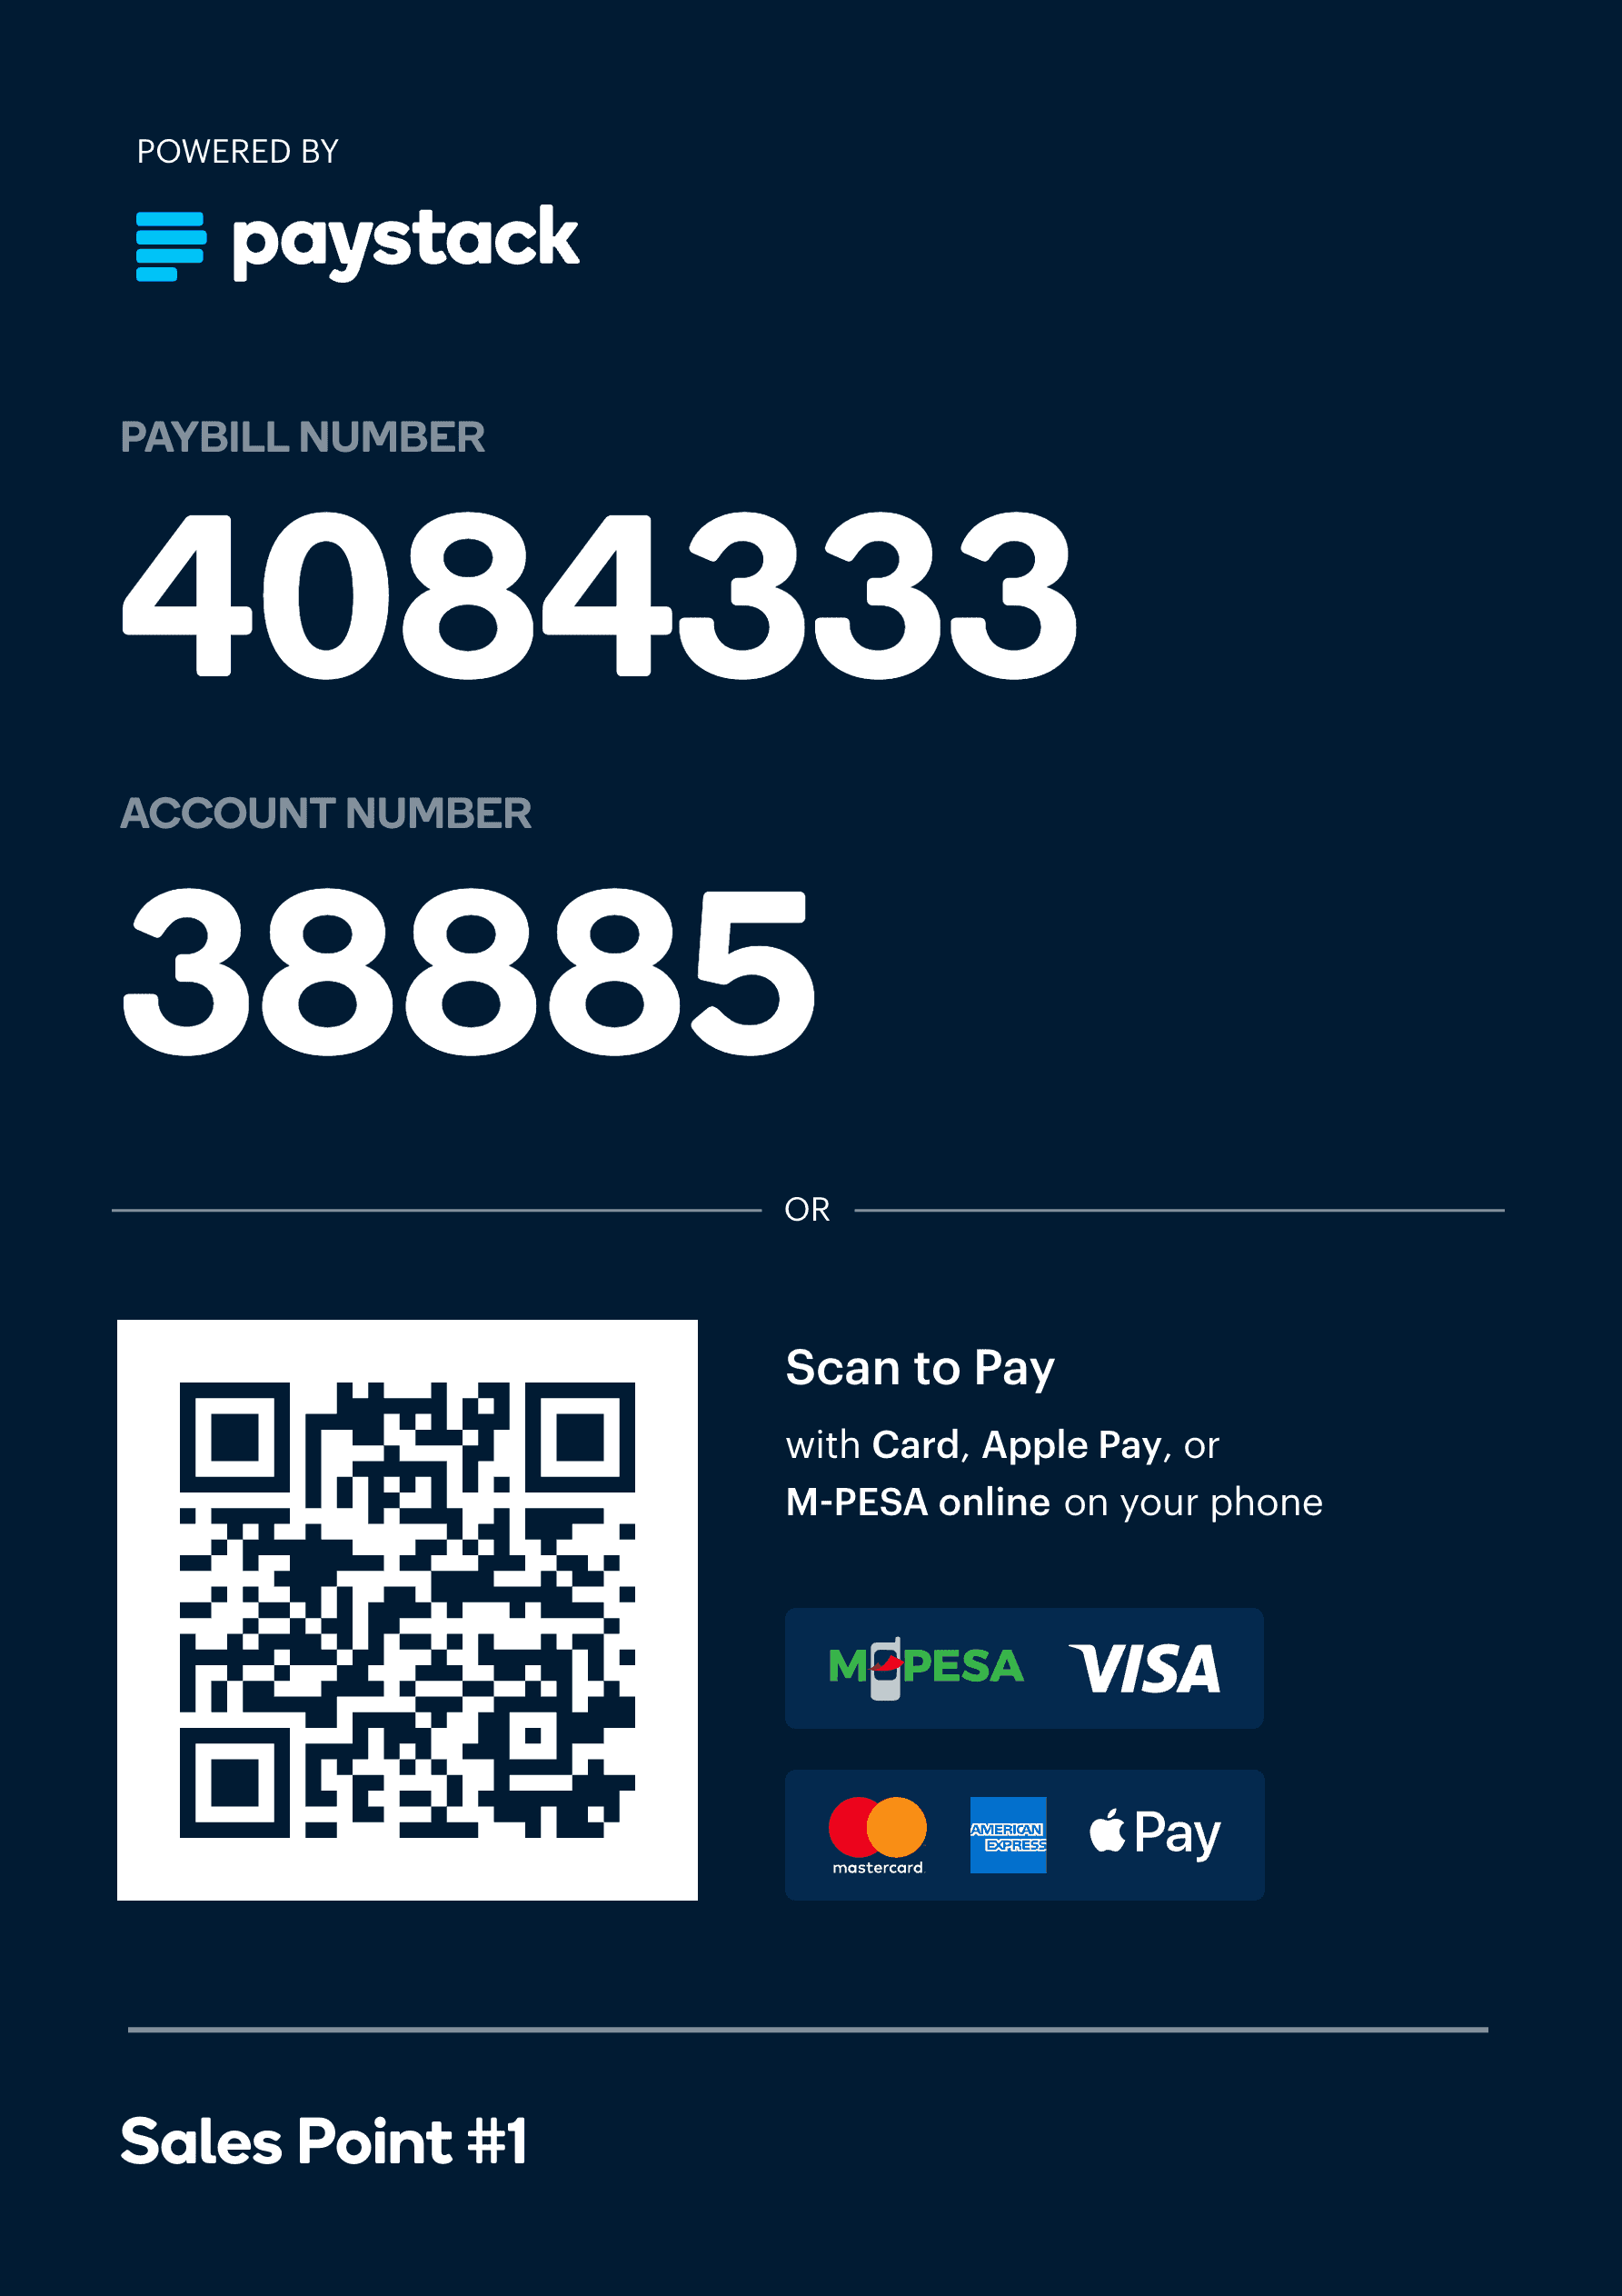
Use the account_number, account_name, and bank from paymentMethods to create custom posters for M-Pesa and Airtel Money payments.
Copy linkChoose how customers will pay
- Use the Paystack-generated poster when you want customers to scan a QR code and open the terminal's payment page. This is best suited for cards, Apple Pay and Pesalink transactions.
- Use the dedicated payment details returned for M-Pesa and Airtel Money payments as they don't require the Checkout.
Copy linkShare the payment surface
- From the Terminals tab in your Paystack Dashboard, select the Virtual Terminal, open its details, and download the poster.
- Display the poster somewhere customers can easily scan it.
- For M-Pesa and Airtel Money customers, also share the Paybill
account_numberandaccount_namereturned inpaymentMethods. They can pay directly without scanning the poster.
Copy linkMonitor notifications
- Watch the registered WhatsApp numbers. They receive a confirmation when the terminal is created, and a notification with the amount and timestamp for every successful payment.
- Listen for
charge.successon your webhook URL. - Match the payment to the correct terminal using
data.metadata.virtual_terminal, or by checking thatdata.source.sourceisvirtual_terminal.
import crypto from 'crypto'
import express from 'express'

const app = express()
app.use(express.json())

app.post('/api/paystack/webhook', (req, res) => {
  const signature = req.headers['x-paystack-signature']
  const hash = crypto
    .createHmac('sha512', 'YOUR_SECRET_KEY')
    .update(JSON.stringify(req.body))
    .digest('hex')

  if (hash !== signature) {
    return res.sendStatus(401)
  }

  const { event, data } = req.body

  if (event === 'charge.success' && data.source?.source === 'virtual_terminal') {
    const terminalCode = data.metadata?.virtual_terminal?.code
    console.log('Virtual Terminal payment confirmed:', terminalCode, data.amount)
    // mark the payment point's order as paid
  }

  return res.sendStatus(200)
})
Copy linkExpand usage when needed
- Add more Virtual Terminals for extra payment points.
- Use the same flow for small storefronts, mobile vendors, delivery businesses collecting payment on delivery, and temporary or seasonal payment locations.
This flow works well when you need a payment point fast and don't want to depend on dedicated hardware.