Payments
Virtual Terminal
In a nutshell
Create a Virtual Terminal, share its payment details with a customer, confirm payment with a webhook, and handle WhatsApp notifications.
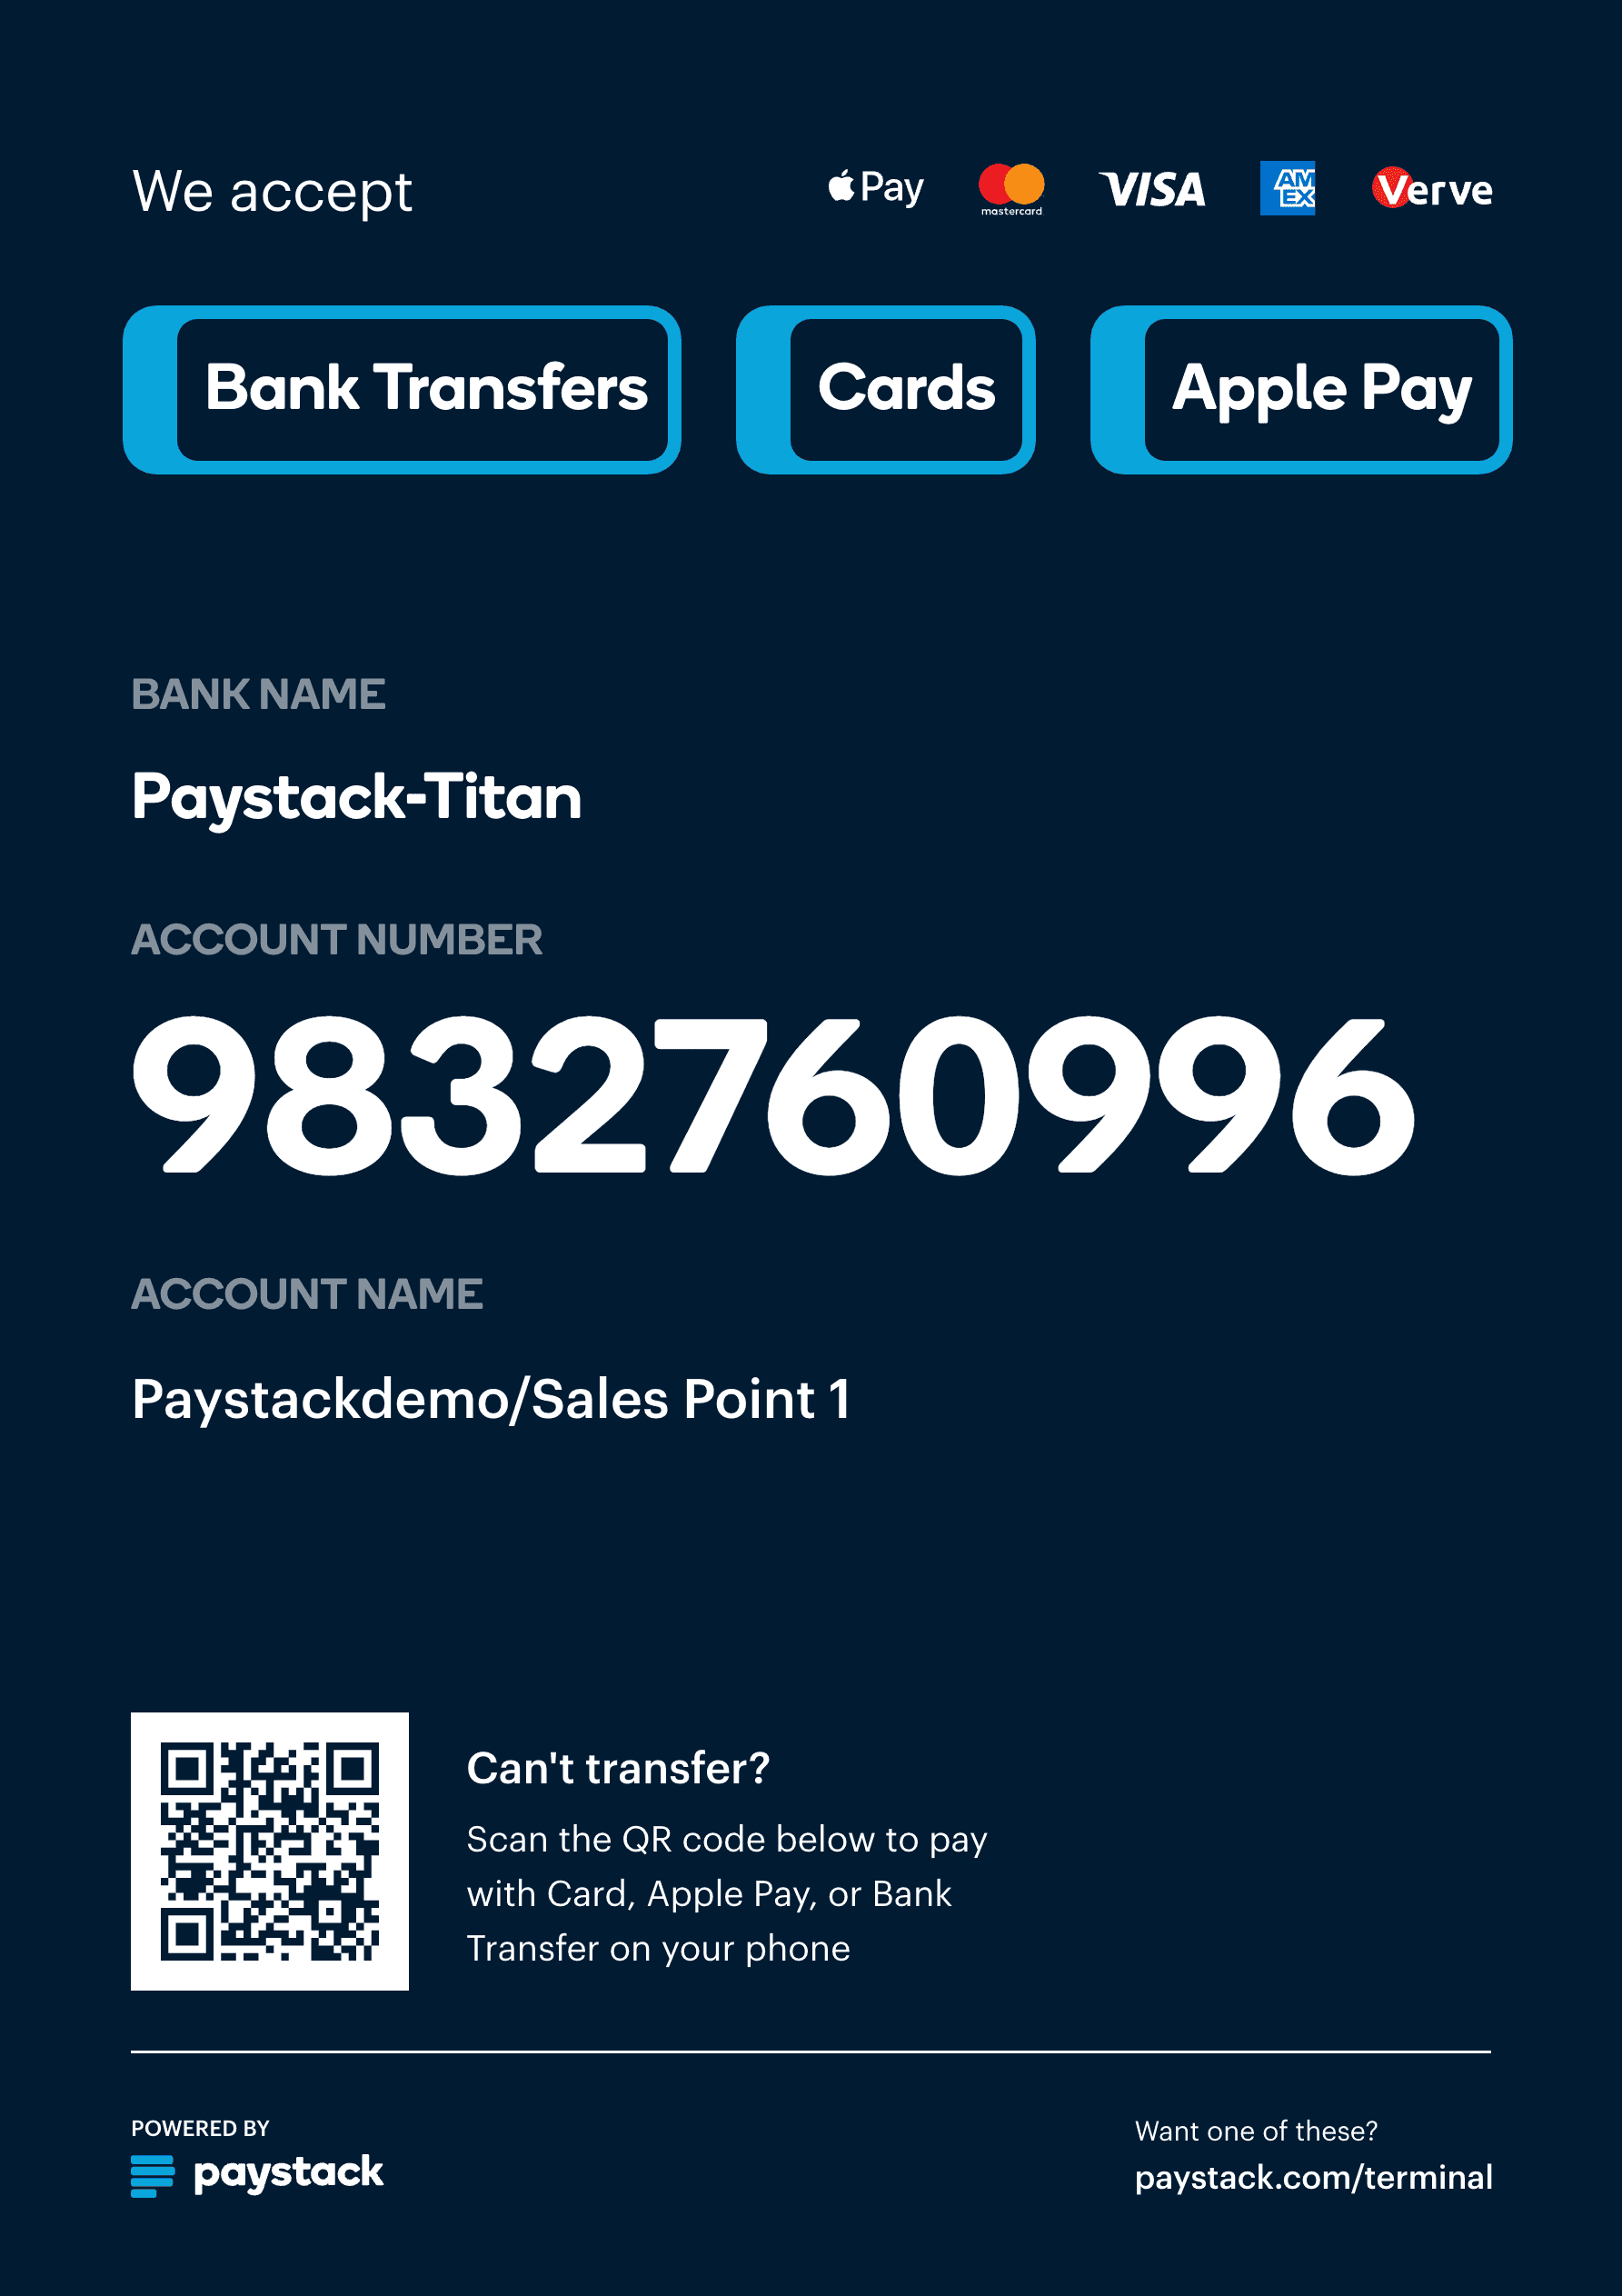
Virtual Terminal turns a WhatsApp-enabled phone into a payment point. Create one from your dashboard or the API, and Paystack gives you a dedicated bank account customers can pay into directly, plus a poster with a QR code for card, bank transfer, and mobile money payments.
There's no hardware to order or ship. You can set up a new payment point in minutes, so Virtual Terminal fits situations where physical Terminal isn't practical:
- New locations: take payments at a store or kiosk while a physical Terminal is still on its way.
- Mobile vendors and delivery riders: collect payment at the point of delivery without carrying a device.
- Temporary or seasonal points: pop-up stalls, events, and short-term booths that don't justify dedicated hardware.
In this guide, you will:
- create a Virtual Terminal for a payment point
- get the dedicated account number customers pay into
- share the payment details or poster with the customer
- handle the
charge.successwebhook to confirm payment - use the WhatsApp notification sent for each successful payment as a secondary confirmation
Copy linkStep 1: Gather the prerequisites
Before you start, make sure you have:
- Your Paystack secret key.
- At least one WhatsApp-enabled phone number to receive payment notifications for this terminal (up to five).
Copy linkStep 2: Create the Virtual Terminal
Use POST /virtual_terminal with a name and a destinations array of WhatsApp numbers.
POSTapi.paystack.co/virtual_terminal
curl https://api.paystack.co/virtual_terminal \
  -H "Authorization: Bearer YOUR_SECRET_KEY" \
  -H "Content-Type: application/json" \
  -d '{
    "name": "Sales Point #1",
    "destinations": [
      {
        "target": "+2347081234567"
      }
    ]
  }' \
  -X POST
const response = await fetch('https://api.paystack.co/virtual_terminal', {
  method: 'POST',
  headers: {
    Authorization: 'Bearer YOUR_SECRET_KEY',
    'Content-Type': 'application/json'
  },
  body: JSON.stringify({
    name: 'Sales Point #1',
    destinations: [
      {
        target: '+2347081234567'
      }
    ]
  })
})

const terminal = await response.json()
console.log(terminal)
Paystack creates a Dedicated Virtual Account for the terminal and returns it in paymentMethods:
{
  "status": true,
  "message": "Virtual Terminal created",
  "data": {
    "id": 26677,
    "name": "Sales Point #1",
    "code": "VT_L837PT5K",
    "paymentMethods": [
      {
        "dedicated_nuban_id": 26196910,
        "type": "dedicated_nuban",
        "account_number": "9964842038",
        "account_name": "Paystack Demo/Sales Point #1",
        "bank": "Paystack-Titan"
      }
    ],
    "active": true,
    "destinations": [
      {
        "target": "2347081234567",
        "type": "whatsapp",
        "name": null
      }
    ],
    "currency": "NGN"
  }
}
Poster Customisation
Use the account_number, account_name, and bank from paymentMethods to create custom posters for Transfer payments.
Copy linkStep 3: Share the payment surface
Give the customer one of two ways to pay:
- The dedicated account number, account name, and bank from the previous step, so they can transfer directly.
- The Paystack-generated poster for the terminal. From the Terminals tab in your Paystack Dashboard, select the Virtual Terminal, open its details, and download the poster. Customers who scan its QR code land on a hosted payment page that accepts card, bank transfer, and mobile money.
Copy linkStep 4: Handle the payment webhook
When a customer pays, Paystack sends a charge.success webhook. Verify the signature, then confirm the payment came from this terminal by checking data.metadata.virtual_terminal.code or data.source.source.
import crypto from 'crypto'
import express from 'express'

const app = express()
app.use(express.json())

app.post('/api/paystack/webhook', (req, res) => {
  const signature = req.headers['x-paystack-signature']
  const hash = crypto
    .createHmac('sha512', 'YOUR_SECRET_KEY')
    .update(JSON.stringify(req.body))
    .digest('hex')

  if (hash !== signature) {
    return res.sendStatus(401)
  }

  const { event, data } = req.body

  if (event === 'charge.success' && data.source?.source === 'virtual_terminal') {
    const terminalCode = data.metadata?.virtual_terminal?.code
    console.log('Virtual Terminal payment confirmed:', terminalCode, data.amount)
    // mark the payment point's order as paid
  }

  return res.sendStatus(200)
})
Copy linkStep 5: Watch for WhatsApp notifications
Each registered WhatsApp number also gets a message when the terminal is created, and a notification with the amount and timestamp for every successful payment. Use this as a quick, secondary confirmation alongside your webhook.
Copy linkSummary
This integration:
- creates a payment point with
POST /virtual_terminal - gets back a dedicated account number in
paymentMethods - shares that account, or the generated poster, with the customer
- confirms payment with a
charge.successwebhook matched ondata.source.source === 'virtual_terminal' - uses the WhatsApp notification sent to each destination number as a secondary confirmation
Use this pattern whenever you need a payment point fast and don't want to wait on physical Terminal hardware.